Installing Ivanti VPN software (Mac)
This tutorial will show you how to install Ivanti Connect Secure on a Mac for remote work/access to campus computers. This tutorial requires the user to know their UCSB email and password (UCSBNetID, ADS, or CHEM-ADS) and requires the user to know their password to their computer.
Step 1
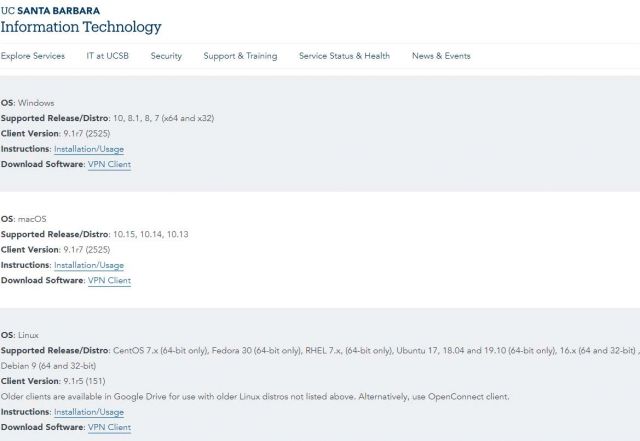
Download the Mac version of Ivanti from the website https://www.it.ucsb.edu/get-connected-vpn and click "Download Client" next to "Download Software".
Step 2
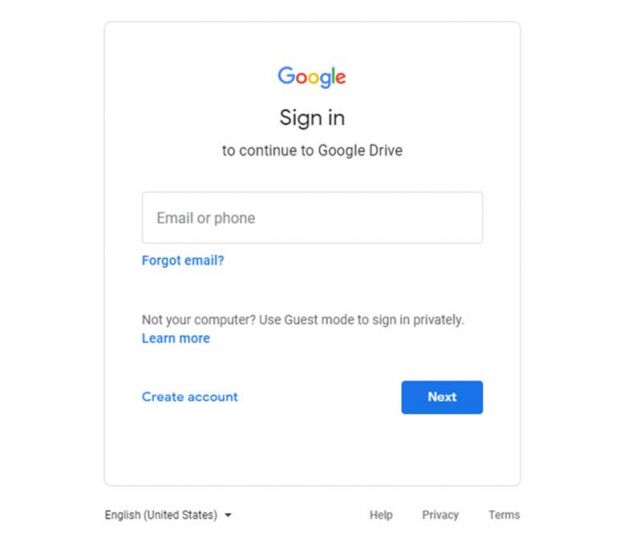
If you are signed into Google with your UCSB email, then skip to the next step. If you do not see this prompt, skip to the next step. Otherwise, enter your UCSB account information.

Step 3
You'll be taken into a Google Drive with two items: a ".pkg" file and a folder. Select the ".pkg" file which is the Ivanti client installer.
Note:The file is called "UCSBVPNPulseClientTrusted_v22.6r1.0-b26825.pkg" and as the app updates in the future the "v22.6r1.0-b26825" part of the name will change.
Step 4
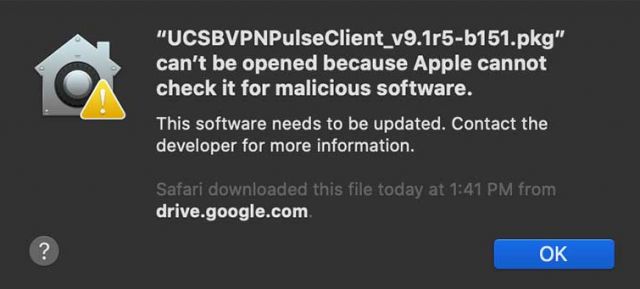
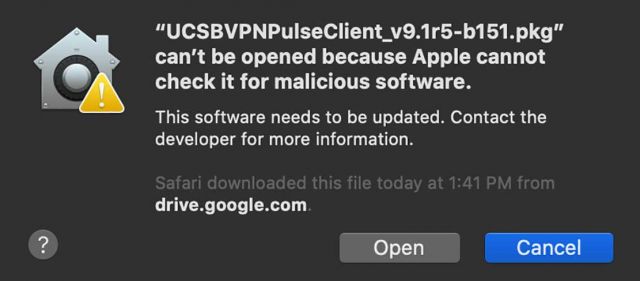
Once the installer is downloaded, open the file and, depending on your security settings,you'll get the following prompt. Press "OK". If you do not get this prompt, skip down to step 7.
Step 5
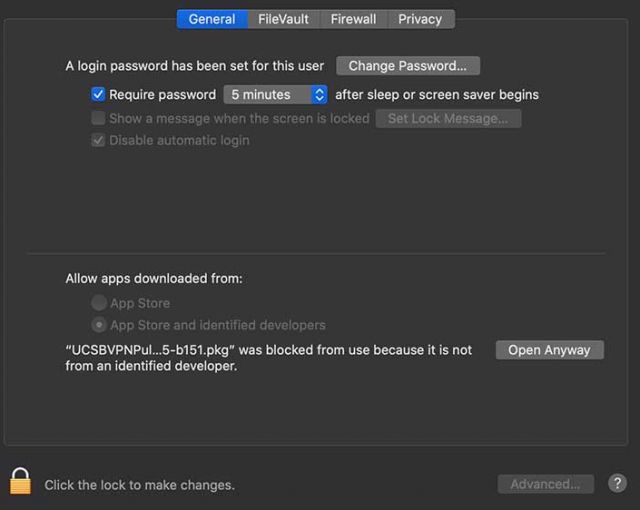
Press the "Space" and "Command" buttons together to bring up the Spotlight and type "Security and Privacy". If you do not have spotlight enabled, go to your setting and look for "Security and Privacy" settings.
Click on "General" and click on the lock on the bottom left then enter you computer password. Click on "Open anyway".
Step 6
You'll get another prompt then click "Open".
Step 7
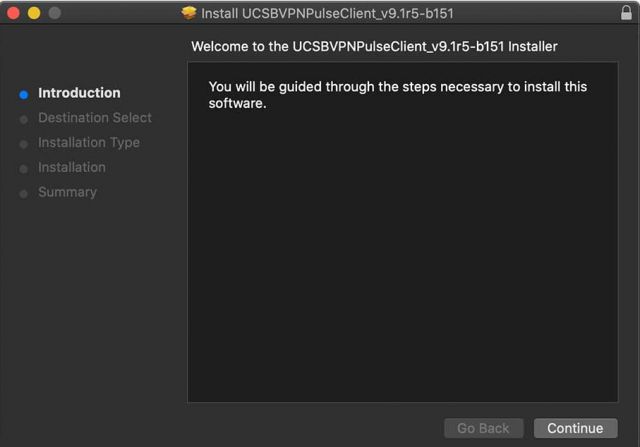
You'll be now taken to the installer. For most users, the default settings will work so feel free to click continue and enter you computer password when prompted to do so.
Step 8
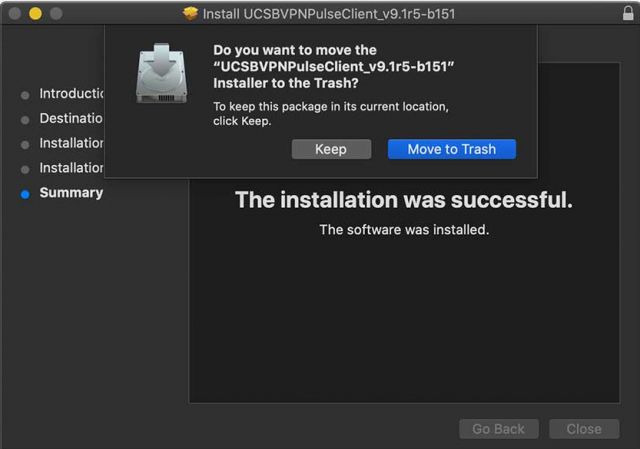
Pulse Secure is now downloaded and installed in your computer. Select either "Move to Trash" or "Keep".
Step 9
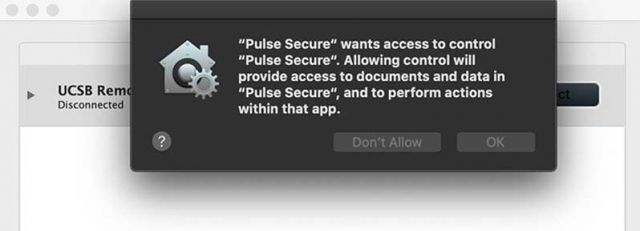
Open Ivanti by locating it in the Applications folder or typing "Ivanti" in Spotlight ("Space" + "Command"). You'll get a prompt to pop up. Press "Ok".
Step 10
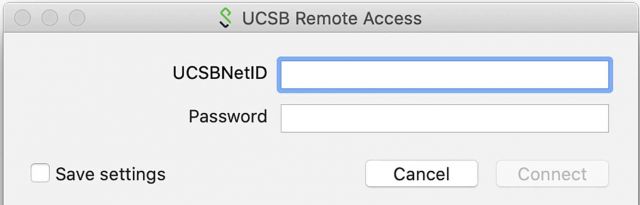
Enter your the following information.
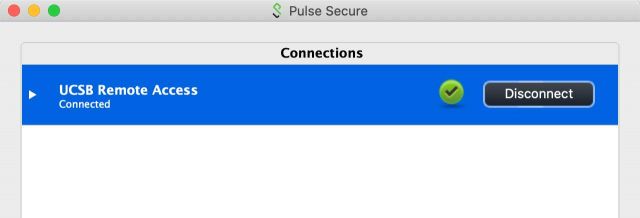
Step 11
Congratulations! You've successfully installed the Ivanti VPN client. Keep in mind, when you quit Ivanti and reopen it, you'll need to press the "Connect" button in order to activate the VPN and access campus computers.